How To Install WordPress Clipper Theme post will show you how to install and set up the theme and get it ready for customization.
Last Updated: February 26, 2019
Latest News: I updated the documentation.
In this post you will learn how to install Clipper theme for the first time. You will also install AppTheme Updater plugin that checks the themes background and reports when an update is available. It is important to install the updater plugin to manage all appthemes including plugins.
How To Install WordPress Clipper Theme
Step 1 ) After purchasing the theme from AppThemes site, you will receive the link to download your copy locally to your computer or laptop. Then you need to upload and install the theme like you normally do in WordPress. The following URL How To Install WordPress Theme shows you how to install a Theme.
The following image displays the theme installed but not yet active. Click on Activate button to activate the theme.
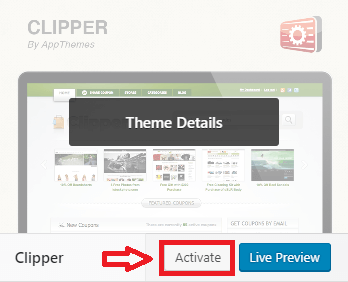
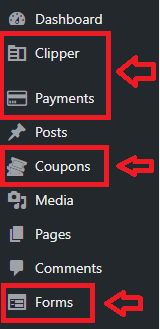
Step 2 ) Once you activate the theme, you will see the following settings added to your admin dashboard. See image below.
Admin Settings Options
- Clipper
- Payments
- Coupons
- Forms
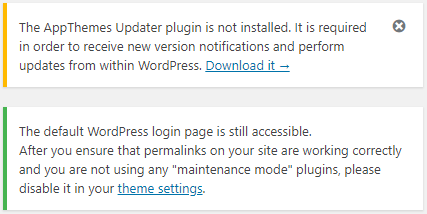
Step 3 ) The following image shows you the messages displayed after you activate the theme. These messages are letting you know what needs to be done before you begin setting up Clipper theme.
Clipper Extra Steps
- In order to keep the theme up to date you need to download and install AppThemes Updater plugin.
- You need to change the settings for WordPress login page.
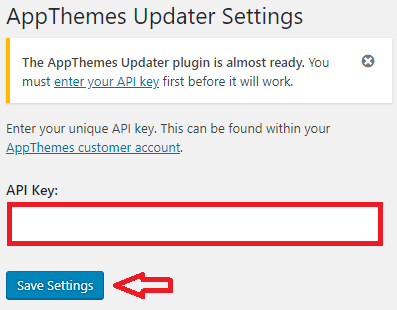
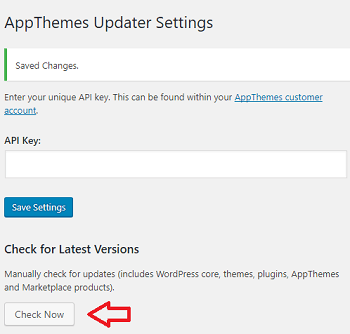
Step 3-a ) The following image shows you the message you receive after you install AppThemes Updater plugin. Before the plugin starts working you need to enter your API key. Click on enter your API key link and it will take you to your AppTheme account login. Once you enter your API Key in the field provided, click on Save Settings button.
Step 3-b ) The following image shows you the Check Now button after you enter the API Key and save the settings. This allows you to manually check for updates when ever you want. However the updater plugin will check automatically every time you log in.
Clipper Setup Guide
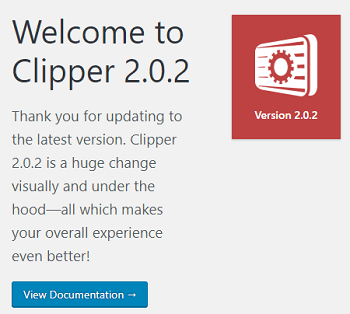
Step 4 ) After you carry all the steps above, go to Clipper -> Set up Guide to learn more about Clipper theme. The following image shows you the version installed and the following button View Documentation.
Note: I recommend you spend some time reading through the documentation to learn more about Clipper theme.
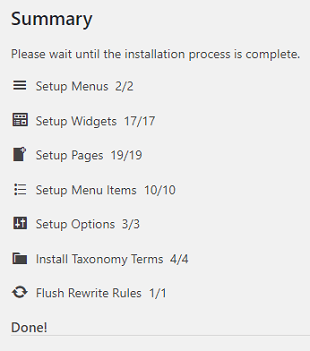
Step 5 ) The following image Summary shows you a list of set ups carried out by the theme when you install and activate the theme for the first time. These steps are important. They will make sure your theme is functioning correctly.
Clipper Summary
- Setup Menus 2/2
- Setup Widgets 17/17
- Setup Pages 19/19
- Setup Menu Items 10/10
- Setup Options 3/3
- Install Taxonomy Terms 4/4
- Flush Rewrite Rules 1/1
Step 6 ) The following image Sample Data allows you to install sample data.
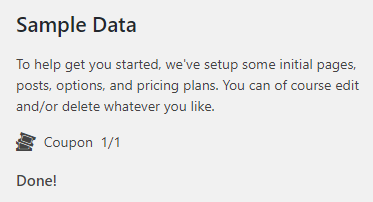
Sample Data List
- Coupon
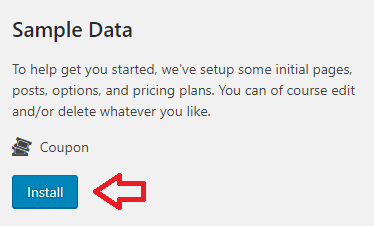
Step 6-a ) The following image shows you 1 coupon sample data installed if you choose to install it.
Note: Installing the sample data can help you understand how Clipper theme works.
==================================
That is how simple it is to install Clipper WordPress theme for the first time.
If you have any questions or suggestions please leave a comment.
There will be more tutorials coming soon. So make sure you keep coming back for the latest.
Enjoy.
Clipper Theme Tutorials List: