ClassiPress WordPress Theme Payment Settings post will show you how to setup the payment setting system in classipress and more.
Last Updated: January 12, 2019
Latest Update: I have changed a link.
In this post you will learn how to set up the payment settings in ClassiPress. It is important to set up correctly from the beginning the payment system or else you will run into issues when payment transactions are carried out in your site. ClassiPress comes with a couple of payment gateways ready for you. There are more payment gateway you can add and use through premium addons and or plugins.
Note: Remember to save the changes made once you are finished with the settings.
ClassiPress WordPress Theme Payment Settings
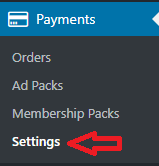
Step 1 ) Go to Payments -> Settings to set up classipress payment settings.
Payment Settings General
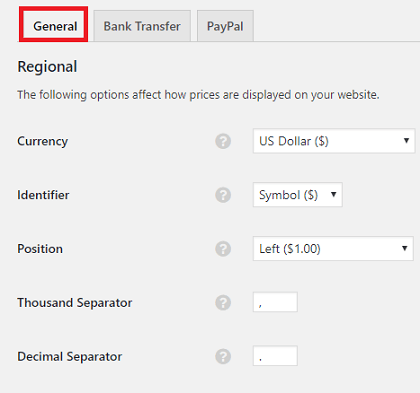
Step 2 ) Go to Payment -> Settings -> General to begin setting up the following options as illustrated in the following image.
Payment Settings General
- Currency
- Identifier
- Position
- Thousand Separator
- Decimal Separator
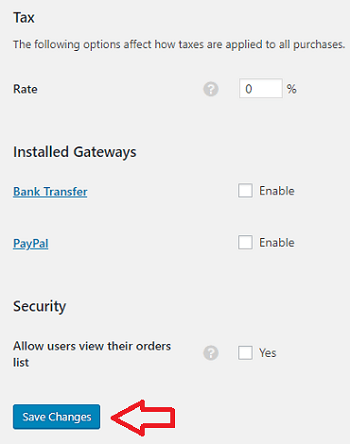
Step 2-a ) The following image allows you to set up the following options.
Payment Settings General Extra
- Tax
- Rate
Installed Gateways
- Bank Transfer
- PayPal
Security
- Allow user to view their orders list
- Click on Save Changes button when you finish with your settings.
Payment Settings Bank Transfer
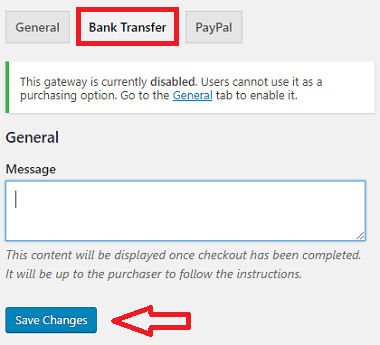
Note: If you see the following message for a payment gateway it means you have not enabled the payment gateway. Make sure you enable the payment gateway under Step 2-a ) above.
This gateway is currently disabled. Users cannot use it as a purchasing option. Go to the General tab to enable it.
Step 3 ) Go to Payment -> Settings -> Bank Transfer to begin setting up the following options as illustrated in the following image.
Payment Settings Bank Transfer
- Message
- Click on Save Changes button when you finish with your settings.
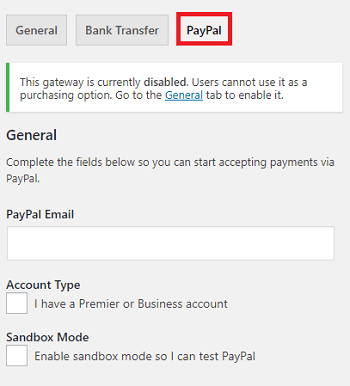
Payment Settings PayPal
Step 4 ) Go to Payment -> Settings -> PayPal to begin setting up the following options as illustrated in the following image.
Payment Settings PayPal
- PayPal Email
- Account Type
- Sandbox Mode
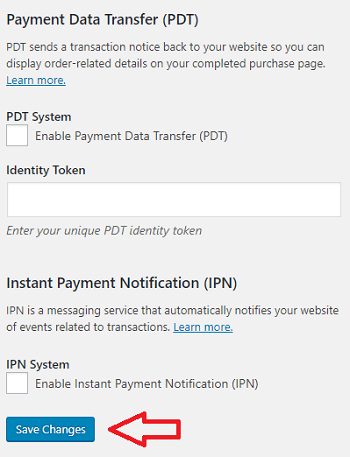
Step 4-a ) The following image allows you to set up the following options.
Payment Data Transfer (PDT)
- PDT System
- Identity Token
Instant Payment Notification (IPN)
- IPN System
- Click on Save Changes button when you finish with your settings.
That is how simple it is to setup ClassiPress payment settings.
If you have any questions or suggestions please leave a comment.
Enjoy.
ClassiPress Theme Tutorial List: