Suffusion Navigation Bar Above Header Settings Part Two shows you how to set up the navigation menu items hover, and more.
Last Updated: March 1, 2018
Latest News: I have updated the documentation.
There are many options for you to play around. This will guide you in setting up your website or blog. Remember to always check with other browsers and see how your website looks.
Suffusion Navigation Bar Above Header Settings Part Two Steps
Navigation Bar Above The Header Tutorials:
- Header Settings
- Part Two
- Header Options
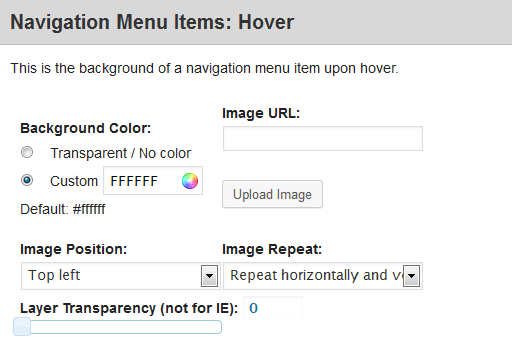
Step 1 ) Go to Navigation Menu Items: Hover to set up the following options.
- Background Color
- Image URL
- Image Position
- Image Repeat
- Layer Transparency (not for IE)
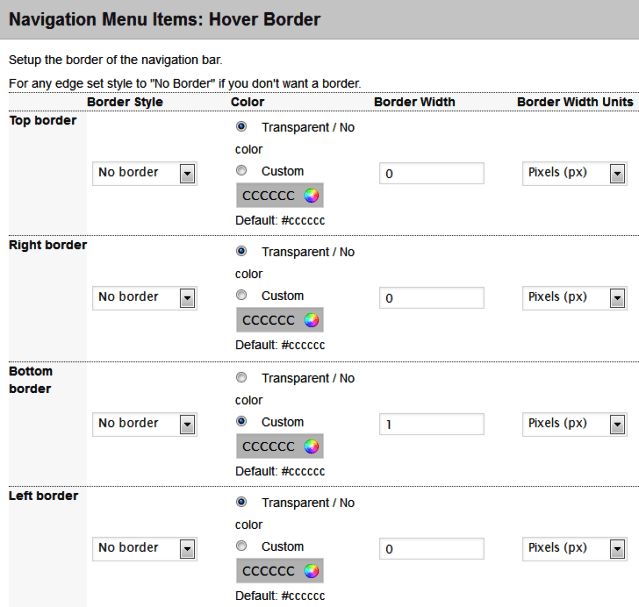
Navigation Menu Items: Hover Border
Step 2 ) Go to Navigation Menu Items: Hover Border to set up the following options.
Top border
- Border Style
- Color
- Border Width
- Border Width Units
Right border
- Border Style
- Color
- Border Width
- Border Width Units
Bottom border
- Border Style
- Color
- Border Width
- Border Width Units
Left border
- Border Style
- Color
- Border Width
- Border Width Units
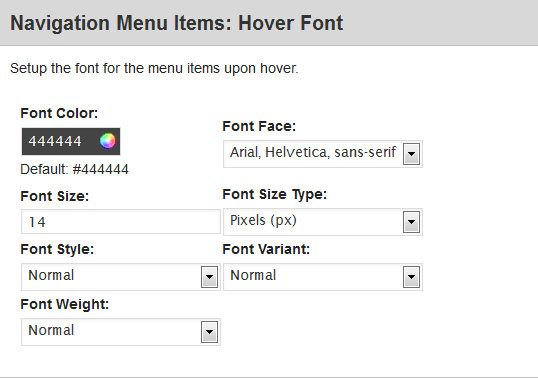
Navigation Menu Items: Hover Font
Step 3 ) Go to Navigation Menu Items: Hover Font to set up the following options.
- Font Color
- Font Face
- Font Size
- Font Size Type
- Font Style
- Font Variant
- Font Weight
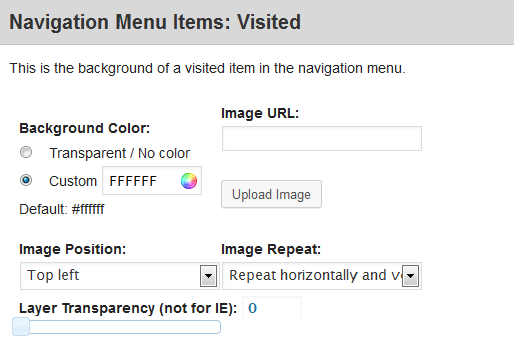
Navigation Menu Items: Visited
Step 4 ) Go to Navigation Menu Items: Visited to set up the following options.
- Background Color
- Image URL
- Image Position
- Image Repeat
- Layer Transparency (not for IE)
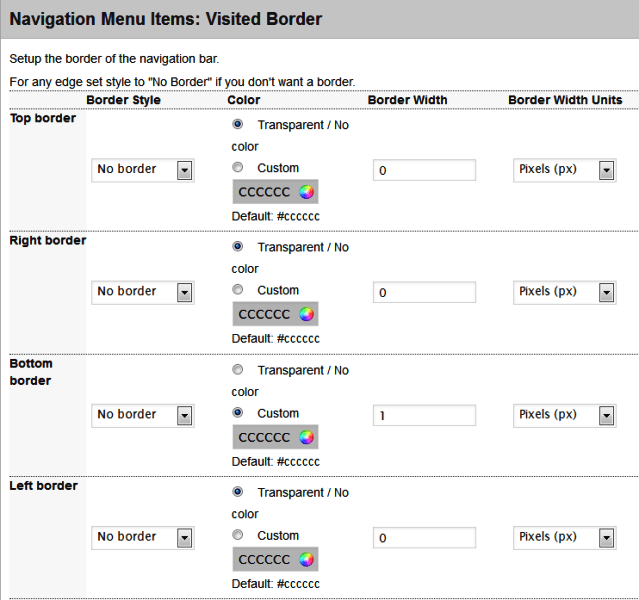
Navigation Menu Items: Visited Border
Step 5 ) Go to Navigation Menu Items: Visited Border to set up the following options.
Top border
- Border Style
- Color
- Border Width
- Border Width Units
Right border
- Border Style
- Color
- Border Width
- Border Width Units
Bottom border
- Border Style
- Color
- Border Width
- Border Width Units
Left border
- Border Style
- Color
- Border Width
- Border Width Units
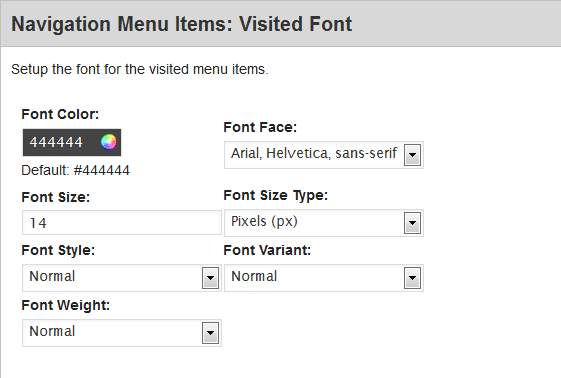
Navigation Menu Items: Visited Font
Step 6 ) Go to Navigation Menu Items: Visited Font to set up the following options.
- Font Color
- Font Face
- Font Size
- Font Size Type
- Font Style
- Font Variant
- Font Weight
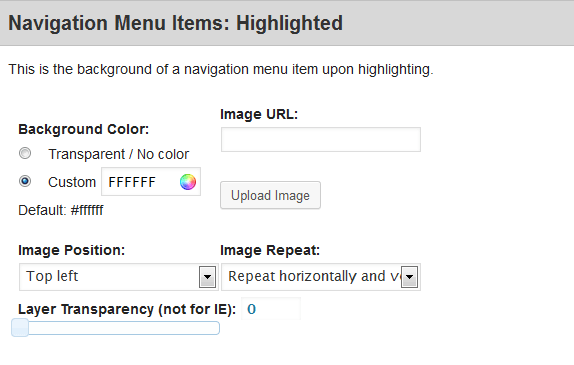
Navigation Menu Items: Highlighted
Step 7 ) Go to Navigation Menu Items: Highlighted to set up the following options.
- Background Color
- Image URL
- Image Position
- Image Repeat
- Layer Transparency (not for IE)
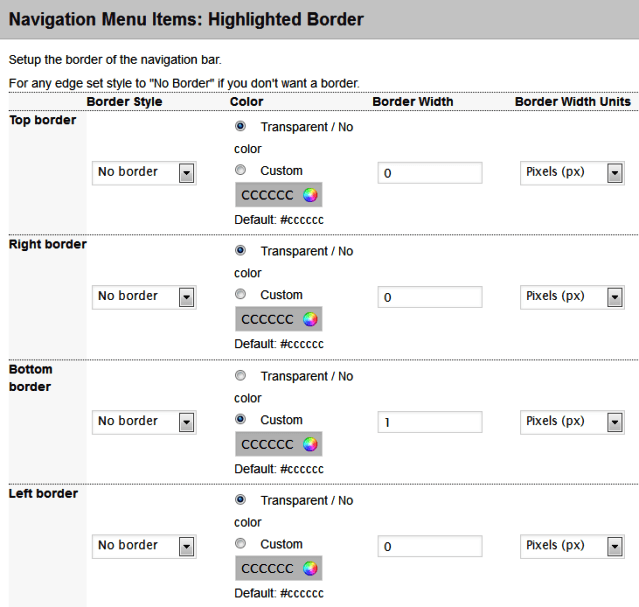
Navigation Menu Items: Highlighted Border
Step 8 ) Go to Navigation Menu Items: Highlighted Border to set up the following options.
Top border
- Border Style
- Color
- Border Width
- Border Width Units
Right border
- Border Style
- Color
- Border Width
- Border Width Units
Bottom border
- Border Style
- Color
- Border Width
- Border Width Units
Left border
- Border Style
- Color
- Border Width
- Border Width Units
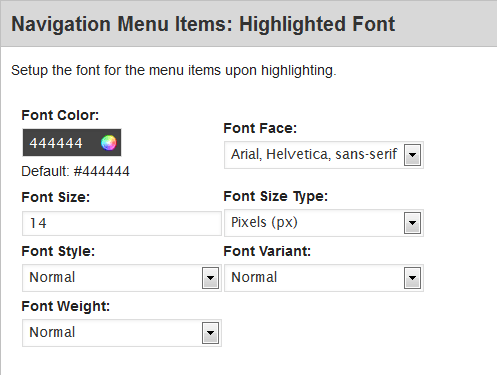
Navigation Menu Items: Highlighted Font
Step 9 ) Go to Navigation Menu Items: Highlighted Font to set up the following options.
- Font Color
- Font Face
- Font Size
- Font Size Type
- Font Style
- Font Variant
- Font Weight
You have now completed Part Two. Click on the following link Header Options to complete the Third Part of the tutorial.
Click on the following URL Skinning Tutorials for more skinning tutorials.
If you have any questions please let me know. I will be updating this from time to time. So keep coming back for the latest.
Enjoy.
More Suffusion Tutorials: