The following post WP WooCommerce Customize Storefront Theme post shows you how to customize the Storefront theme.
Last Updated: July 17, 2023
Latest News: Updated the documentation.
WooCommerce makes it very simple to customize the Storefront theme. There are child themes you can purchase and install extensions to add further functionality to the theme. You use the Customize admin sidebar menu to customize the theme further. Just like you normally do to customize other WordPress themes.
What You Need:
WordPress WooCommerce Customize Storefront Theme
Step 1 ) Go to Appearance -> Storefront as illustrated in the following image to download child themes and or extensions.

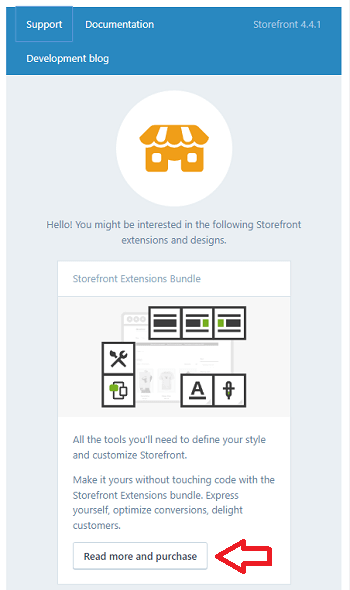
Step 2 ) The following image allows you to click and check the following options.
Storefront Options
- Click on Support tab.
- Click on Documentation tab.
- Click on Development blog tab.
- Click on Read more and purchase button.
Step 2-a ) The following image allows you to click on Check ’em out button to download alternate designs.
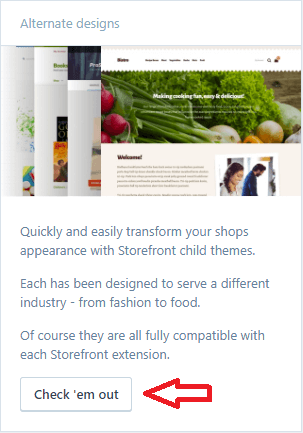
Customize Storefront Theme
Once you have decided to download child themes and or extensions, then you can begin to customize your theme. This is done via the Customize sidebar menu in WordPress.
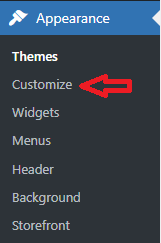
Step 3 ) Go to Appearance -> Customize as illustrated in the following image to customize the theme further.
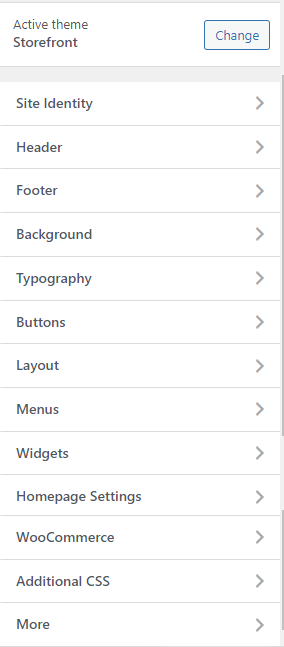
Step 4 ) The following image allows you to customize the following options.
Storefront Customize Options
- Site Identity
- Header
- Footer
- Background
- Typography
- Buttons
- Layout
- Menus
- Widgets
- Homepage Settings
- WooCommerce
- Additional CSS
- More
- Click on Read more and purchase button.
===============================================
The steps above should help you customize the storefront theme. You can even download child themes and add extensions.
If you have any questions please let me know.
I will be updating this tutorial from time to time so make sure you come back for the latest.
Enjoy.
WooCommerce Plugin Tutorial List: