How To Create A WordPress Menu post will show you how to create a menu or menus and add some pages for your website / laptop and more.
Last Updated: February 19, 2018
Latest News: I have updated a link.
Menus are very important and displaying the correct menu in your site will help and direct the visitors to the correct area in your site. When someone lands on your site they want to know how to get to different areas. A well organized menu structure will allow your visitors to reach the area quicker.
When you install a theme, the theme will have a menu structure available for you to use. So if you need to have a menu under the website banner then make sure the theme you install caters for that. The same applies if you want to have 2 menus, one on top above the banner and one below the banner.
The theme used for this tutorial is Suffusion. The WordPress version for this tutorial is 4.7.2
Note: Different themes will allow you to add menus in different locations. Always make sure that the theme you install is the correct theme for you.
How To Create A WordPress Menu
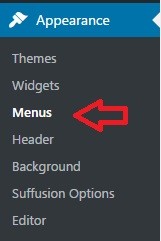
Step 1 ) Go to Appearance -> Menus to start creating your menu or menus.
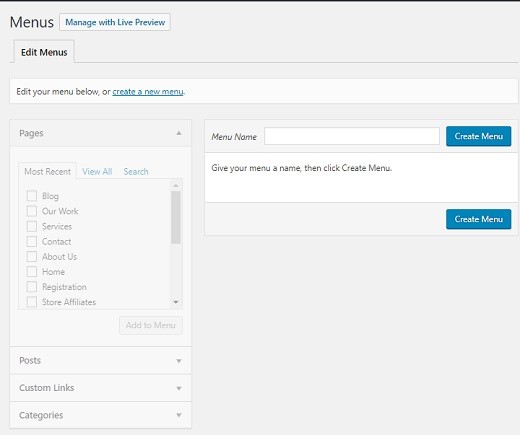
Step 2 ) Once you click on Menus above you will see the following screen if this is the first time you start creating a menu and there are no more menus added. This is the default view when you first install WordPress and create your first menu. In this area you can start creating your menus and configure them. The following list lets you configure the following options.
New Menu Options
- Manage with Live Preview
- Edit Menus
- Menu Name
- Pages
- Post
- Custom Links
- Categories
- Select a menu to edit
- Click on Create Menu button when you have finished setting up your menu.
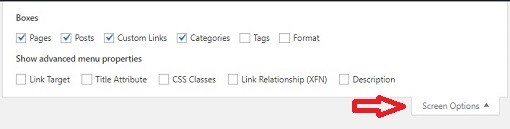
Step 2-a ) If you don’t see all of the above options. You need to enable the following boxes. These boxes are located on the top right hand side under Screen Options. See image below.
Boxes
- Pages
- Posts
- Custom Links
- Categories
- Tags
- Format
Show advanced menu properties
- Link Target
- Title Attribute
- CSS Classes
- Link Relationship (XFN)
- Description
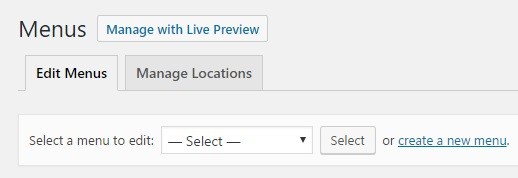
Step 3 ) If you have more than one menu created in your site then you will see the following screen. The following list lets you configure the following options.
New Menu Options
- Manage with Live Preview
- Edit Menus
- Manage Locations
- Select a menu to edit
- create a new menu = For this tutorial I will be focusing on creating a new menu.
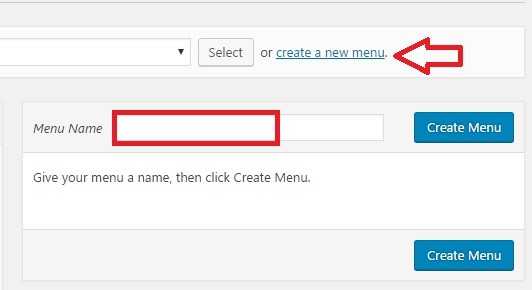
Step 4 ) Click on create a new menu and then type in the new menu name in the Menu Name field. Once you have added the name click on Create Menu button. See image below.
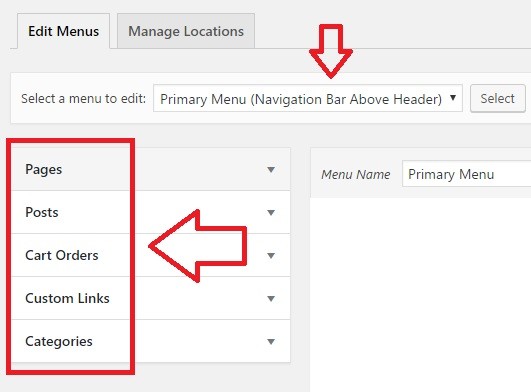
Step 5 ) This menu is added to the Navigation Bar Above Header as illustrated in the following image. On the left hand side you will a list of what you can add to the menu.
Menu List Options
- Pages = This is what will be added in the menu for this tutorial.
- Posts
- Cart Orders = This is optional and it is added because of a plugin currently installed.
- Custom Links
- Categories
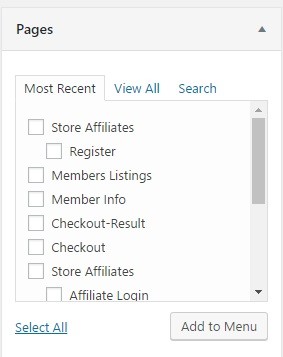
Step 6 ) The following image Pages displays all the pages currently created in the website. You can select as many pages as you want to add to the menu. Once you have selected the pages you want to add to your menu, click on Add to Menu button and the pages will be added.
Pages Tabs
- Most Recent
- View All
- Search
- Select All
- Add to Menu
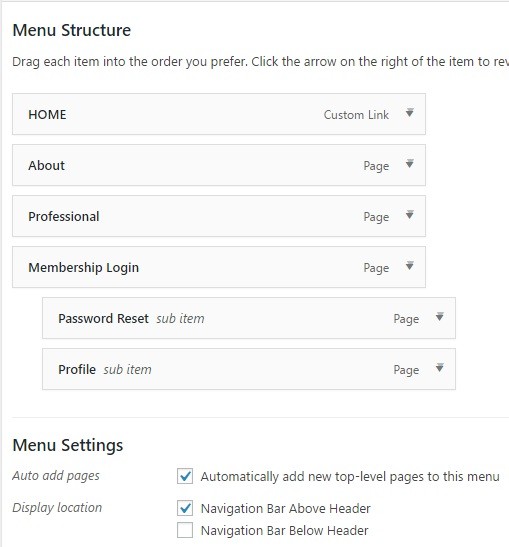
Menu Structure
Step 7 ) The following image Menu Structure shows you all the pages added to the menu from the list above. You can see that some pages have become sub item. To create a sub item page all you have to do is drag the page to the right hand. To drag he page you need to move your mouse on top of the page you want to move and then hold down the left mouse and drag the page to the right hand side.
Menu Settings
- Auto add pages
- Display location = You might have more than one location to add your menus. This depends on the theme you are using.
Note: You can also organize the order for each page in the menu by simply dragging each page up or down.
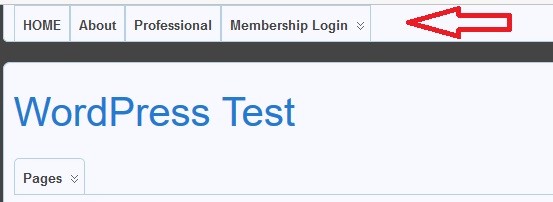
Step 8 ) The following image shows you the menu displayed on the top above the website banner in the website. Notice the arrows pointing down in Membership Login menu. This represents the sub item mentioned in Step 6 ) above.
That is all you need to do to create a menu for your site.
If you have any questions please let me know.
I will be updating this tutorial from time to time so make sure you come back for the latest.
Enjoy.
WordPress Setup Tutorial List: