Last Updated: June 18, 2016
KompoZer Create Photo Album shows you how to setup a photo album to display on the right hand sidebar.
Latest News: I have added another link to the menu.
In this tutorial you will learn how to add some photos to the right side. This is a simple procedure and one that you should have no problem completing if you have completed all the tutorials up to now.
KompoZer Create Photo Album Steps
Step 1 ) Add another <div></div> tag just like the previous lessons. The div tag will have the following id=”photocontent” to control the photo content.
HTML Code To Add:
<div id=”rmenubox5″>
<div id=”titlestyle”>Photo Album</div>
<div id=”photocontent”></div>
</div>
Step 2 ) Click on Insert -> Image or the Image icon on the tool bar. Select your images/ photos to insert the images in between the photocontent tag. The image tool will allow you to control how you want to display your images. For this example I created 1 image with the following sizes width = 60px and height = 60px.
Note: You have to adjust the height settings to allow for the new div tag rmenubox5 added. I adjusted the height to the following id #wrapper, #mainbody and #rightsidebar.
Have a look at the image html code:
<div id=”photocontent”><img
style=”border: 1px solid ; width: 60px; height: 60px;” alt=””
src=”../images/image_blue.jpg”><img
style=”border: 1px solid ; width: 60px; height: 60px;” alt=””
src=”../images/image_blue.jpg”><img
style=”border: 1px solid ; width: 60px; height: 60px;” alt=””
src=”../images/image_blue.jpg”><img
style=”border: 1px solid ; width: 60px; height: 60px;” alt=””
src=”../images/image_blue.jpg”>
</div>
Step 3 ) The following code controls the images layout in this tutorial. You might change your settings to suit your needs. However keep in mind that you when ever you change the width, margins and borders you also have to change the settings for the other tags.
Photo CSS Code:
#rmenubox5 {
border: 1px solid black;
padding: 5px;
background-color: #ffffcc;
float: left;
color: black;
}
#photocontent {
margin: 0% 10% 10%;
padding: 1px;
clear: both;
background-color: white;
float: none;
text-align: center;
}
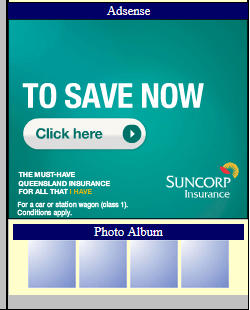
Step 4 ) The following image displays the photo album. I have also changed the width and increased it. I wanted to display a larger Google Adsense Ad.

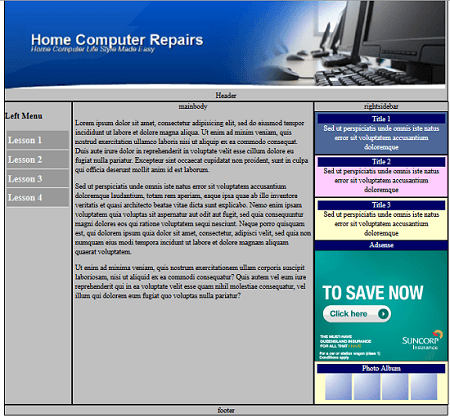
Step 5 ) The following image displays the current website up to now. Once the layout is complete, it will be used as a template.

Click on the following URL Responsive Settings to continue.