Add Joomla Banner tutorial shows you an easy way to advertise Google Adsense in Joomla without a third party component. You can also add other advertising banners.
Latest News: I have updated the old tutorial to reflect the new Joomla 3.1 version.
What you need:
- The latest version of Joomla.
- A Google account.
This tutorial is separated into two parts:
- Add Joomla Banner, you must complete this part first.
- Add Joomla Banner Page Two
Many web developers install modules or third party components to add banners, but Joomla comes with it’s own component and it is very powerful, simple to use and it does a good job displaying banners.
This tutorial will cover adding Google Adsense advertisements to your website.
1 ) Log into Joomla back end as the administrator. See images below.
Before we begin lets analyze the different menu tools for Joomla Banners. See images below.
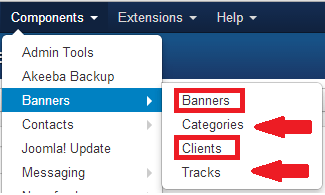
The following image shows the editing options if you select Banners.

The following image shows the editing options if you select Categories. There is an extra options, Rebuild as you can see in the image below.

The following image shows the editing options if you select Clients.

The following image shows the editing options if you select Tracks.
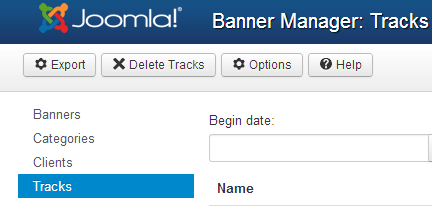
When you are editing Banners, Categories and Clients you will have the following options in the toolbar. See image below.
![]()
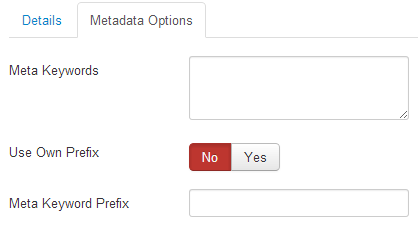
You also have an option to add some Metadata Options which is good for SEO.
Now that we have covered the different tool bars and editing options in Joomla, lets begin creating our Banner.
Create a Joomla Banner Category
2 ) Click on Components >> Banners >> Categories and click on? New button on the toolbar. Click? Save & close button. See images below.
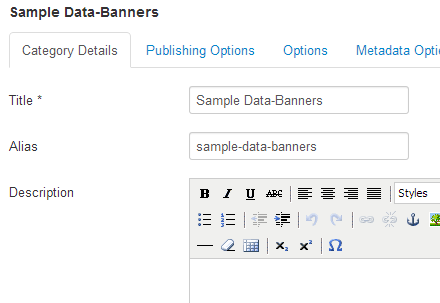
Enter a title, I have left the default title, Sample Data-Banners. The Alias is automatically created for you.
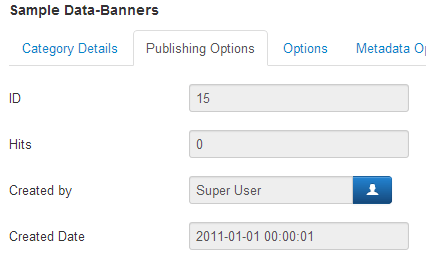
An ID 15 has been added automatically. Hits are set to zero at the moment. It was created by Super User and you can also see the date created.
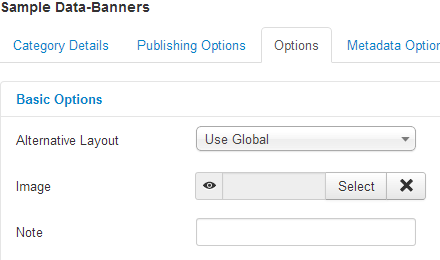
You can set the Alternative Layout, Image and type a Note.
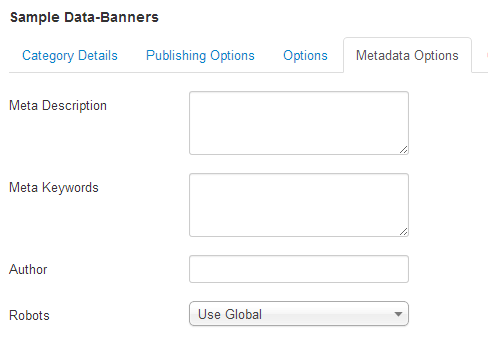
You can add some Meta Description, Meta Keywords, Author and set the Robots. These options are slightly different to Banners and Clients.
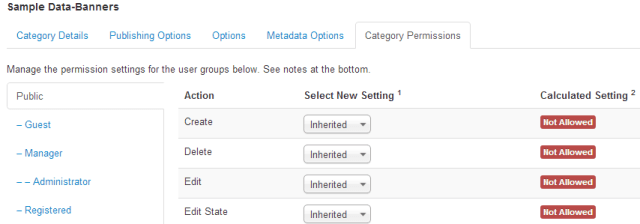
You can set the Category Permissions for your banner. This is very important to make sure you set the correct permissions in accordance to your requirements.
Create a Joomla Banner Client
3 ) Click on Components >> Banners >> Client and click on New button on the toolbar.
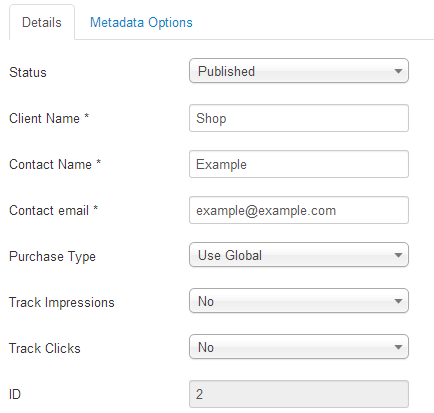
Fill in the following details. I have left it as the default settings from Joomla.
This is not a real client so you don’t need to enter a real e-mail address, but all fields must be filled in or Joomla will not allow you to save your records. Also make sure that the client name that you enter reflects the banner that you are going to create, because after a while you might have a number of banners and you want to always associate the correct Banner Client to each ad that you display. In this tutorial you would enter something like Google Adsense as a Client Name and [email protected]. Select which all other options as you please. Click Save & close button. See images below.
Remember: You have an option to fill out Metadata Options.
Here you can add Additional Information for your client. Perhaps as you are aware that you will be adding more clients in the future, it might be a good option to add some information.
You have now completed Part 1, please click on the following link add joomla banner page two to complete this two part tutorial.
I hope this is helping you
Hi there friends, its great article about eduсаtionand entiгely definеd,
κeeρ it up all the time.
Thank you Samantha :)