WP Super Cache Plugins And Debug Settings shows you how to set up and add more plugins to be cached and how to set up and enable debug options.
Last Updated: February 2, 2022
Latest News: I updated the information.
The following information talks about WP Super Cache plugins and debug settings. These settings will help you troubleshoot any issue you come across in your site. It will also help you cache plugins running in your site and enable the plugins already added to WP Super Cache plugin. But caching plugins requires some knowledge of PHP and more. If you are not familiar with PHP and are not a developer then don’t worry about this part.
Debugging issues is something that most of you are aware off and run into occasionally. Many of you when this happens in your site, you quickly submit a support ticket. In some cases enabling debug mode and following the instructions provided to troubleshoot the problem can fix the issue without having to submit a ticket and wait for a reply in the support forum.
Note: Enabling debug mode can sometimes help you save time by troubleshooting your issue quicker.
What You Need:
WP Super Cache Plugins And Debug Settings
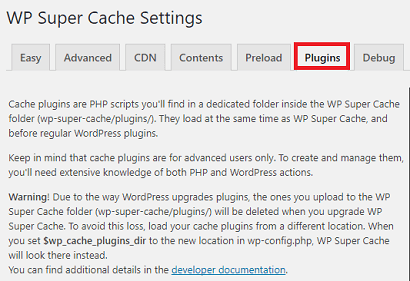
Step 1 ) Go to Settings -> WP Super Cache -> Plugins tab to start enabling and adding plugins to be cached. See image below.
Available Plugins
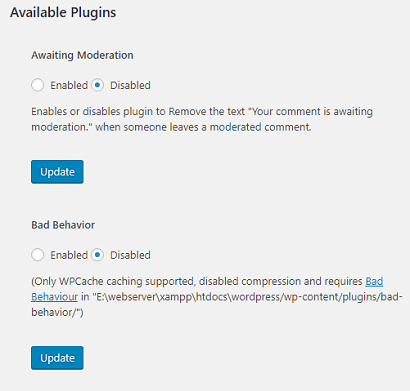
Step 2 ) The following image Available Plugins allows you to enable or disable the following plugins available.
Available Plugins
- Awaiting Moderation
- Bad Behavior
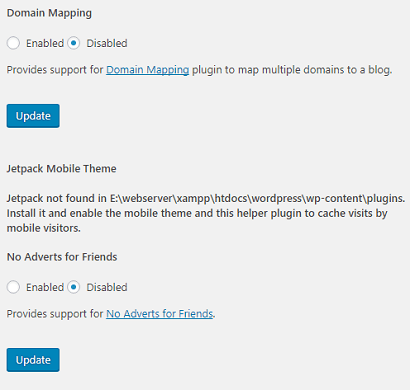
Step 2-a ) The following image allows you to enable or disable the following plugins available.
Available Plugins
- Domain Mapping
- Jetpack Mobile Theme
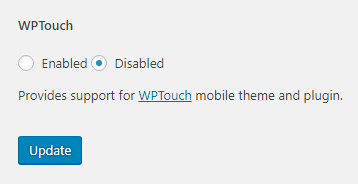
Step 2-c ) The following image allows you to enable or disable the following plugins available.
Available Plugins
- WPTouch
Debug Settings
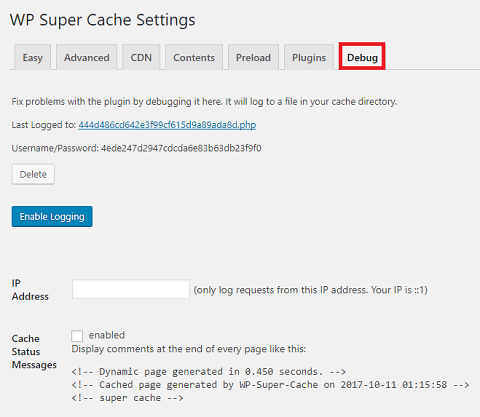
Step 3 ) Go to Settings -> WP Super Cache -> Debug tab to start enabling debug features to help you troubleshoot any issues you come across.
- Click on Delete button
- Click on Enable Logging button and later on you can click on Disable Logging button
- IP Address
- Cache Status Messages = You can enable this feature if you need too.
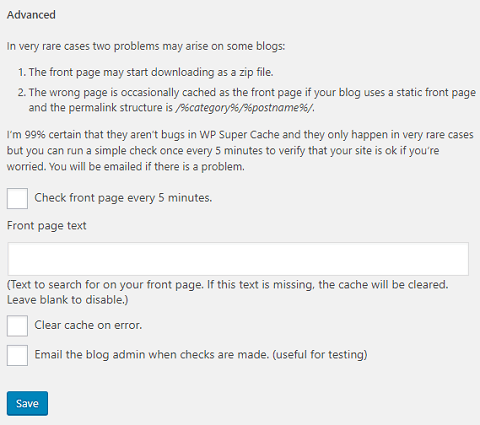
Step 3-a ) The following image Advanced allows you to control advanced debug mode features.
Advanced Debug Features
- Check front page every 5 minutes.
- Front page text = You can customize the text to display on the front page.
- Clear cache on error.
- Email the blog admin when checks are made. (useful for testing).
- Click on Save button when you finish setting up the troubleshooting features.
I will be updating this tutorial from time to time so keep coming back for the latest. If you have any questions please let me know.
Enjoy.
WP Super Cache Tutorials List: