WP Photo Seller Gallery Settings tutorial will show you how to set up your galleries, selecting templates, selecting the order and much more.
Last Updated: September 8, 2021
Latest News: Updated the documentation.
The following tutorial show you how to create and manage galleries. There are many options available in the plugin, so make sure you view and test your settings before finalizing them.
What you need:
- WP Photo Seller (Note: This is an affiliated link = I get a small commission if you make a purchase.)
WP Photo Seller Gallery Settings
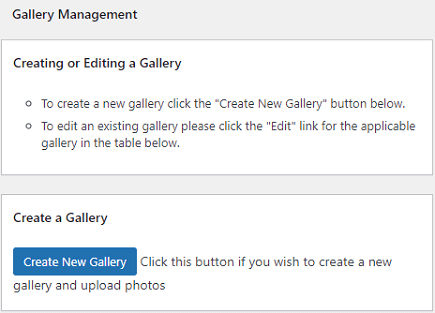
Step 1 ) Go to WP Photo Seller -> Gallery as illustrated in the following image to set up the following options.
Gallery Management Options
- Create or Editing a Gallery
- Create a Gallery
- Click on Create New Gallery button to begin creating a new Gallery.
General Gallery Settings
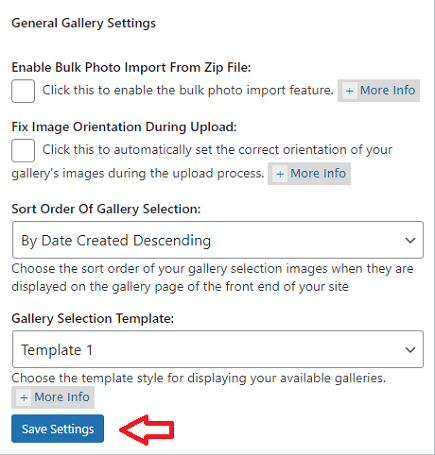
Step 2 ) The following image General Gallery Settings allows you to set up the following options.
General Gallery Settings Options
- Enable Bulk Photo Import From Zip File:
- Fix Image Orientation During Upload:
- Sort Order Of Gallery Selection:
- Gallery Selection Template:
- Click on Save Settings button once you have completed your settings.
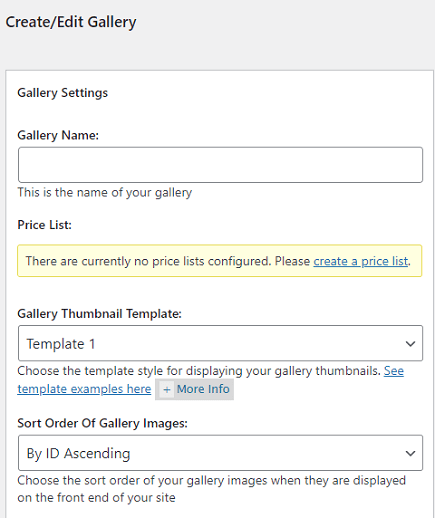
Create/Edit Gallery
- Gallery Name
- Price List
- Gallery Thumbnail Template = Note: Click the following URL Photo Gallery Templates to view template samples.
- Gallery Thumb ID:
- Sort Order Of Gallery Images
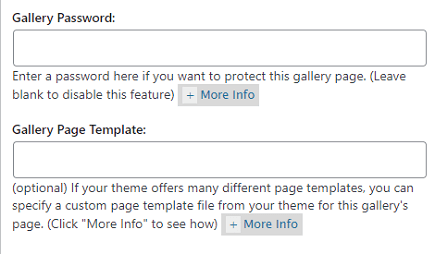
- Gallery Password
- Gallery Page Template
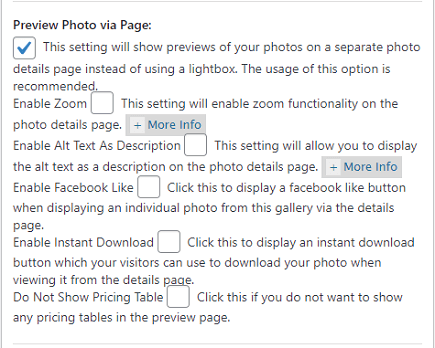
Preview Photo via Page
Step 4 ) The following image Preview Photo via Page allows you to set up the following options.
Preview Photo via Page Options
- Show previews of your photos on a separate photo details page.
- Enable Zoom
- Enable Alt Text As Description
- Enable Facebook Like
- Enable Instant Download
- Do Not Show Pricing Table
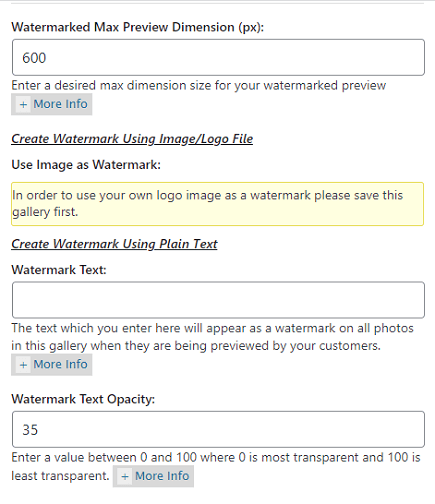
Watermark Settings
Step 5 ) The following image Watermark Settings allows you to set up the following options.
Watermark Settings Options Part 1
- Watermark Max Preview Dimension (px):
- Create Watermark Using Image/Logo File
- Create Watermark Using Plain Text
- Watermark Text Opacity
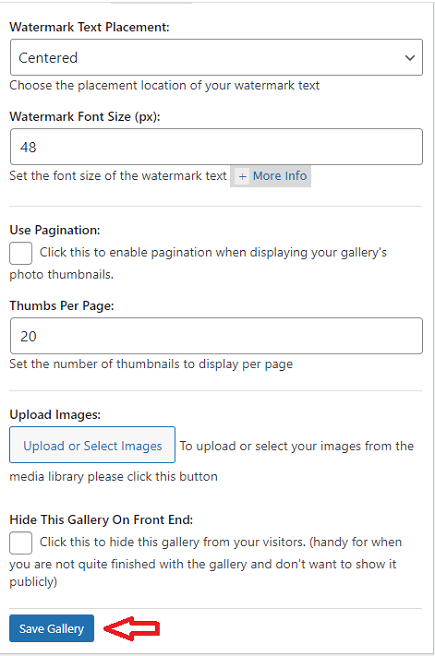
Step 5-a ) The following image allows you to set up the following options.
Watermark Settings Options Part 2
- Watermark Text Placement:
- Watermark Font Size (px):
- Use Pagination:
- Thumbs Per Page:
- Upload Images:
- Hide This Gallery On Front End:
- Clink on Save Gallery button once you have completed your settings.
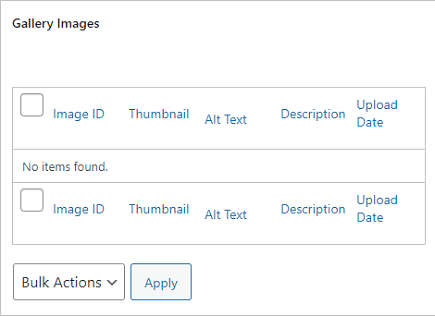
Gallery Images
Step 6 ) The following image Gallery Images allows you to view details about the images you have uploaded.
Gallery Images Options
- Image ID
- Thumbnail
- Alt Text
- Description
- Upload Date
- Click on Apply button when you have selected from the drop down menu the bulk action to take.
==================================
Click on the following link Album Settings to complete the tutorial.
I will be updating this post from time to time. So keep coming back for more.
Enjoy.
WP Photo Seller Tutorials