The following Stripe Payments Plugin General Settings tutorial shows you how to set up the general settings in the plugin and more.
Last Updated: December 5, 2022
Latest News: Updated the documentation.
This simple shopping cart plugin allows you to sell products and even digital media. There are some free and premium addons to help you further.
The following tutorial shows you how to set up and configure the general settings for Stripe Payments plugin. This is very straight forward and simple for anyone to set up.
What You Need:
- Stripe Payments
- Addons available.
Stripe Payments Plugin General Settings
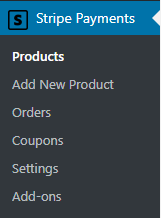
Step 1 ) Go to Stripe Payments in your site admin panel to start setting up the general settings in the plugin. The following image shows you the following admin menu options.
Stripe Payments Admin Menu
- Product
- Add New Product
- Orders
- Coupons
- Settings
- Add-ons
Step 2 ) Go to Stripe Payments -> Settings -> General Settings as illustrated in the following image to start configuring the general settings.
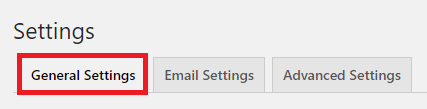
Stripe Global Settings
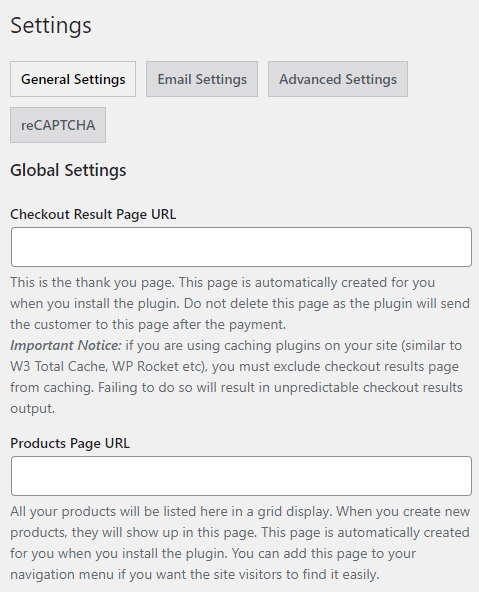
Step 2-a ) The following Global Settings list allows you to set up the following options in the plugin.
Global Settings Part 1
- Checkout Result Page URL
- Products Page URL
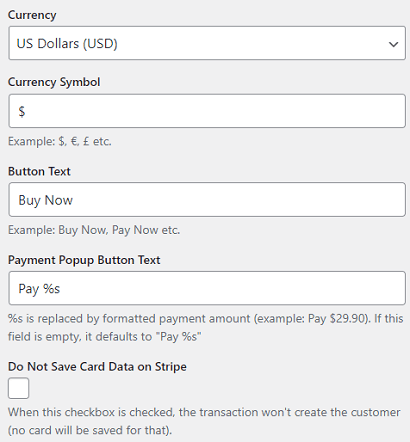
Step 2-b ) The following Global Settings list allows you to set up the following options in the plugin.
Global Settings Part 2
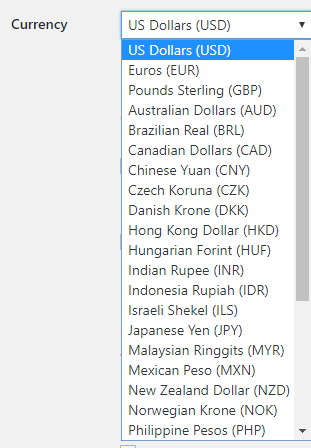
- Currency = Refer to Step 2-b-1 ) below.
- Currency Symbol
- Button Text
- Payment Popup Button Text
- Do Not Save Card Data on Stripe
Step 2-c ) The following Global Settings list allows you to set up the following options in the plugin.
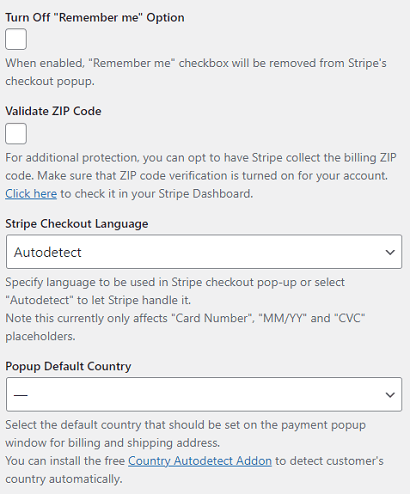
Global Settings Part 3
- Turn Off “Remember me” Option
- Validate ZIP Code = For additional protection, you can opt to have Stripe collect the billing ZIP code. Make sure that ZIP code verification is turned on for your account. Click here to check it in your Stripe Dashboard.
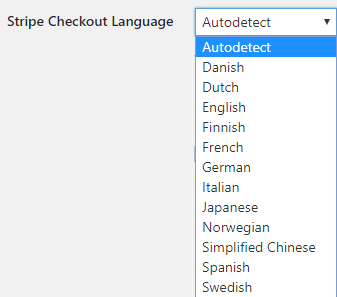
- Stripe Checkout Language = Refer to Step 2-c-1 ) below.
- Popup Default Country = Select the default country that should be set on the payment popup window for billing and shipping address. You can install the free Country Autodetect Addon to detect customer’s country automatically.
Step 2-d ) The following Global Settings list allows you to set up the following options in the plugin.
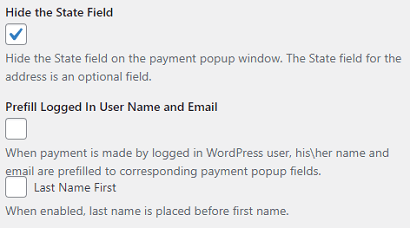
Global Settings Part 4
- Hide the State Field
- Prefill Logged In User Name and Email
- Last Name First
Step 2-b-1 ) The following Currency image allows you to select the default Stripe Payments language for your site.
Step 2-c-1 ) The following Stripe Checkout Language image allows you to select the default Stripe checkout language for your site.
Stripe Credentials Settings
Step 3 ) The following image Credentials allow you to set up the following options.
Credential Settings
- Live Mode
- Live Stripe Publishable Key
- Live Stripe Secret Key
- Test Stripe Publishable Key
- Test Stripe Secret Key

Stripe Debug Settings
Step 4 ) The following image allows you to set up the following options.
Stripe Debug Settings
- Enable Debug Logging
- View Log
- Clear Log
- Debug Log Shareable Link = Enabled option available.
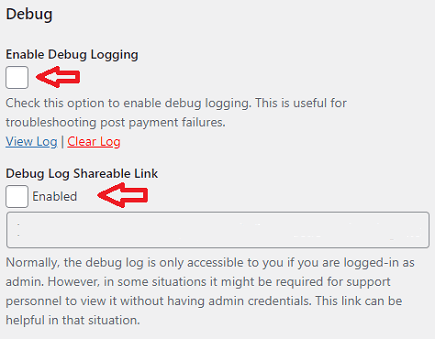
Troubleshooting Logs
Q1 I have enabled Enable Debug Logging, but my logs are empty. How can I fix this issue?
Answer: If you click “View Log” and it is empty, click “Clear Log”. It should re-create the log file and start populating it again. Check the following forum link to learn more.
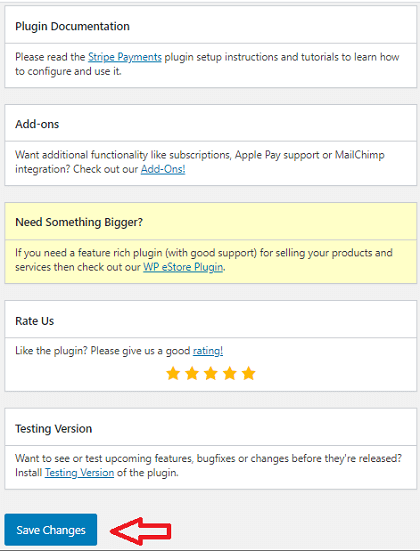
Documentation, Addons and Save Changes Button
Step 5 ) The following image displays the following details about the plugin.
Documentation, Addons and Save Changes Button
- Plugin Documentation = Please read the Stripe Payments plugin setup instructions and tutorials to learn how to configure and use it.
- Add-ons = Want additional functionality like subscriptions, Apple Pay support or MailChimp integration? Check out our Add-Ons!
- Need Something Bigger? = If you need a feature rich plugin (with good support) for selling your products and services then check out our WP eStore Plugin.
- Rates Us = Like the plugin? Please give us a good rating!
- Testing Version = Want to see or test upcoming features, bugfixes or changes before they’re released? Install Testing Version of the plugin.
- Finally when you are happy with your settings click on Save Changes button.
=======================================
That is all you need to do to set up the general settings in the plugin.
I will be updating this post from time to time. So keep coming back for more.
Enjoy.
Stripe Payments Plugin Tutorials: