WP Photo Seller Plugin tutorial will show you how to set up and configure the Photo Seller plugin.
Last Updated: June 26, 2023
Latest News: Updated the documentation.

This tutorial was written using WP Photo Seller Version 2.4.2 (April 8, 2021).
The current version is WP Photo Seller 2.4.2 April 8, 2021. I will be updating the tutorial only when ever any new changes are added and or new additional options are added in the current release version.
WordPress Photo Seller Plugin is a shopping cart designed and built to meet the needs of photographers.
If you are a photographer or hobbyist and want to sell photos, prints, images online then this plugin is an essential tool for you.
First you need to add your license and configure the basic settings. The following documentation allows you to view different reports based on the year, month, week and also daily.
What you need:
- WP Photo Seller (Note: This is an affiliated link = I get a small commission if you make a purchase.)
WP Photo Seller Plugin Tutorials:
- Settings Main
- E-mail Gateway Settings
- Advanced Settings
- Price List Management
- Gallery Settings
- Album Settings
- Admin Functions
- Coupon Settings
- Troubleshooting
WP Photo Seller Plugin Steps
Step 1 ) This tutorial is written to start from the top of the menu. You will not see any reports because this is the first time you install the plugin. When you click on WP Photo Seller it will also link with Reports. See image below.

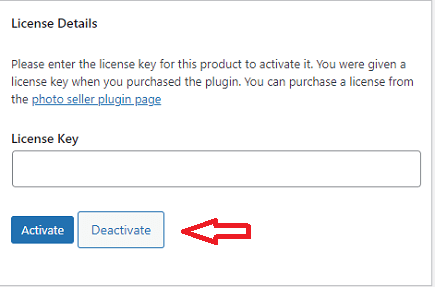
License Details
Step 2 ) Install the plugin like you normally do. Log in as the administrator and navigate to the left hand side. Click on WP Photo Seller and you will notice a pop up menu. Select WP Photo Seller to view your current settings which will be empty. See images below.
You must enter your License Key and click on the Activate button to use the product.
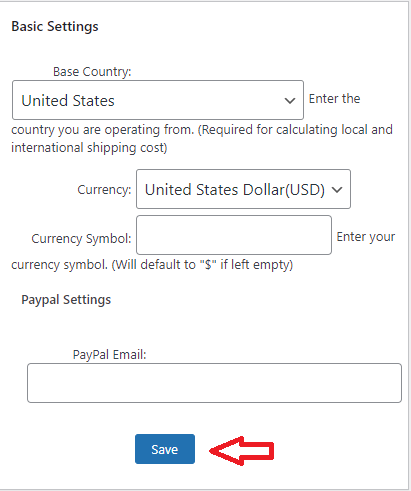
Basic Settings
Step 3 ) Important: If you don’t set it up your Basic Settings you will see a notice illustrated in the following image everywhere on your admin panel reminding you.

Basic Settings Options
- Base Country:
- Currency:
- Currency Symbol:
- PayPal Email:
- Click on Save button after you have completed the basic settings.
WPS Reports
Step 4 ) The following image WPS Reports allows you to view your reports based on a start and end date.
WPS Reports Options
- Start Date
- End Date
- Click on Submit button to view the report.

Monthly Sales Report
Step 5 ) The following image Monthly Sales Report allows you to view your monthly sales report. Click on the drop down menu to select the year. Click on Show Report button.

Daily Sales Report
Step 6 ) The following image Daily Sales Report allows you to view the daily sales report. Click on the drop down menu to select the month and year. Click on Show Report button.

Individual Product Sales Report
Step 7 ) The following image Individual Product Sales Report allows you to view individual product sales report. Click on the drop down menu to select the month and year. Click on Show Report button.

Cart Share Discount Report
Step 8 ) The following image Cart Share Discount Report allows you to view the cart share discount report. Click on the drop down menu to select the year. Click on Show Report button. Click on Export Emails button to Down load the report.

==================================
I will be updating this post from time to time. So keep coming back for more.
Enjoy.