Last Updated: July 07, 2015
Paint Net Image Editor Top Menu Tools will cover the following options Edit, File, View, Image, Layers, Adjustments and Effects.
Latest News: I have repaired an image broken link.
There are many options to select and configure. You need to spend some time to understand all of them. I will be adding more information very soon. Stay tuned.
Paint Net Image Editor Tutorials:
- Paint Net Image Editor
- Paint Net Image Editor Top Menu Tools
- Paint Net Image Editor Top Right Menu
- Paint Net Image Editor Effects
- Paint Net Image Editor Top Right Menu Layers
Paint Net Image Editor Top Menu Tools Steps
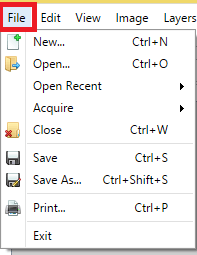
1 ) Click on File to manage the following options:
- New
- Open
- Open Recent
- Acquire
- Close
- Save
- Save As
- Exit
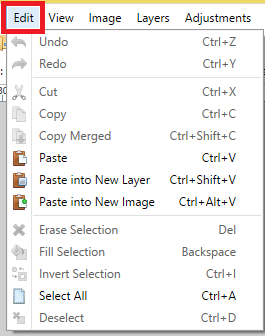
2 ) Click on Edit to manage the following options.
- Undo
- Redo
- Cut
- Copy
- Copy Merged
- Paste
- Paste into New Layer
- Paste into New Image
- Erase Selection
- Fill Selection
- Invert Selection
- Select All
- Deselect
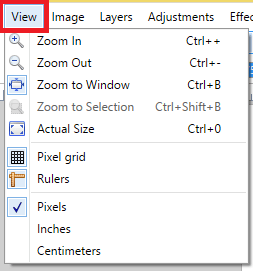
3 ) Click on View to manage the following options.
- Zoom In
- Zoom Out
- Zoom to Window
- Zoom to Selection
- Actual Size
- Pixel grid
- Rulers
- Pixels
- Inches
- Centimeters
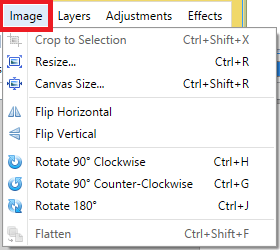
4 ) Click on Image to manage the following options.
- Crop to Selection
- Resize
- Canvas Size
- Flip Horizontal
- Flip Vertical
- Rotate 90 degrees Clockwise
- Rotate 90 degrees Counter-Clockwise
- Rotate 180 degrees
- Flatten
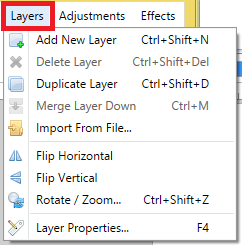
5 ) Click on Layers to work with the following tools:
- Add New Layer
- Delete Layer
- Duplicate Layer
- Merge Layer Down
- Import From File
- Flip Horizontal
- Flip Vertical
- Rotate / Zoom
- Layer Properties
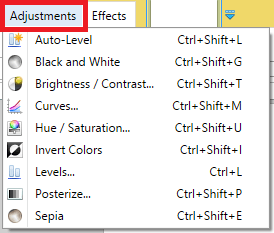
6 ) Click on Adjustments to select from the following options.
- Auto-Level
- Black and White
- Brightness / Contrast
- Curves
- Hue / Saturation
- Invert Colors
- Levels
- Posterize
- Sepia
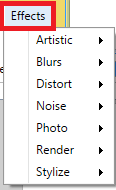
7 ) Click on Effects to select the following options:
- Artistic
- Blurs
- Distort
- Noise
- Photo
- Render
- Stylize
Click on the following URL Paint Net Image Editor Top Right Menu to learn more.
I will update this tutorial from time to time. So keep coming back for the latest. If you have any questions please let me know.
Enjoy