The following steps will help you upgrade and backup QuickBooks to a single computer or for a shared network environment. Always remember the number of licenses that you have.
Last Updated: May 11, 2022
Latest News: Fixed the category.
Step 1) Make sure everyone is logged out of QuickBooks.
Step 2) Install the latest version of QuickBooks on the master computer for a shared environment or a single computer, using the CD received in the mail or the package you purchased. Once the software has been installed you need to register the software online via the internet “this procedure is done automatically”. Remember the number of licenses you have. You can only install QuickBooks on the number of computers according to the number of licenses you purchased.
Step 3) Open QuickBooks and test the installation.
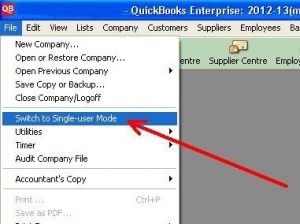
Step 4) Convert QuickBooks data file to the latest version.QuickBooks has to be in single user mode. See image below:
“Important No one else must be logged into QuickBooks”
Hint: Click on any image to see a larger size image
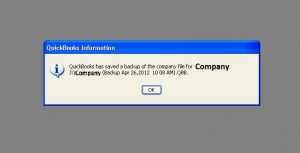
Step 6) Create a backup, which should be done automatically by QuickBooks before the conversion. Here you can choose where you want to save the backup.
Step 7) Log in and test the new converted data file. “Important no one else must be logged into QuickBooks”.
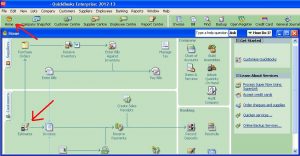
Step 8 ) After the upgrade check to see if the forms still have a logo inserted? This part only applies to those that had Company logos on their forms. If the logos are missing, you need to add the logo to the corresponding forms. The following example illustrates how to add a logo to Estimates Form. Click on Home and Estimates.
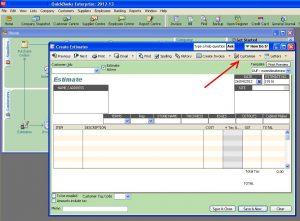
Step 9) On the following window click on Customise button.
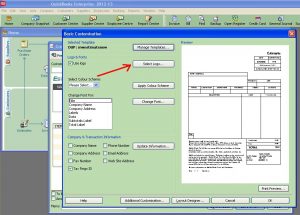
Step 10) On the following window click on Select Logo button.
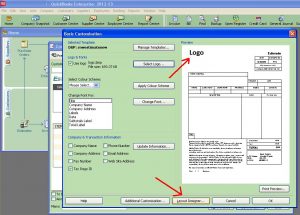
Step 11) On the following window click on Layout Design button to adjust the logo size.
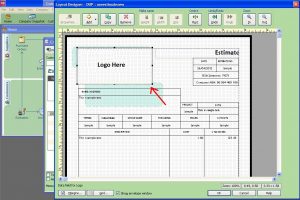
Step 12) On the following window adjust the logo size by dragging the box to your desired dimensions.
Step 13) Once you have completed the logos and the testing was successful, uninstall the previous version of QuickBooks.
Hint: There is no need to keep the previous version of QuickBooks especially after you have converted the QuickBook data file to the latest version.
Step 14) Create a computer image “backup” of the master computer for a shared environment or the single computer with the new installation.
“This is optional however it is advisable to create a backup”
Step 15) Install QuickBooks on the remaining computers for a shared network environment. Once the software has been installed you need to register the software online via the internet “this procedure is done automatically”. Remember the number of licenses you have. You can only install QuickBooks on the number of computers according to the number of licenses you purchased.
Step 16) Create a new computer image “backup” for all the remaining computers.
Step 17) Uninstall the old version of QuickBooks.
Step 18) Log in and test the new installation, use the Admin account.
Step 19) After testing the new installation on each remaining computer, open QuickBooks data base file see Step 4) and test to see if it opens up with out any problems.
Hint: Set the master computer QuickBooks to Multi User Mode or else you won’t be able to open the shared file with the other computers.
If everything is working well, then you have completed all the steps above with success. If you come across any problems, repeat the steps above making sure all steps are carried out. If you have any questions please post them here and I will be happy to help.
Good luck
Return Back To:
Sorry, the comment form is closed at this time.