WordPress Vantage Theme Payments Settings shows you how to edit and manage your payments settings. It shows you how to add and edit new listing plans.
Last Updated: January 15, 2019
Latest News: I have repaired a broken link.
In this post you will learn how to add and edit new listing plans, manage your payments settings and more. Adding the correct listing plans to your site is important for your business. You might also want to allow the users to view their orders list.
Note: You can read more about enabling sample data from the following URL How To Install WordPress Vantage Theme.
WordPress Vantage Theme Payments Settings
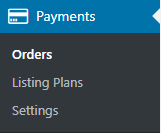
Step 1 ) The following image Payments menu allows you to control and manage the payments orders, listtings plans and settings options.
Vantage Payments Menu
- Orders
- Listing Plans
- Settings
Listing Plans
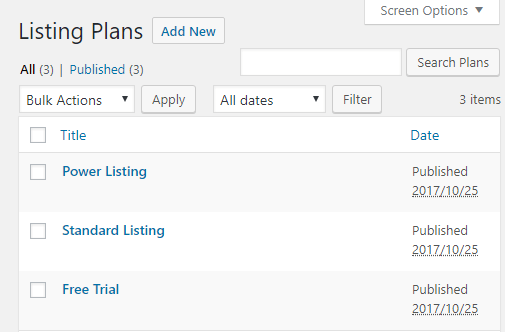
Step 2 ) The following image Listing Plans shows you the listings plans set up for your customers. The following image displays the 3 listings created by the plugins sample data Power Listing, Standard Listing and Free Trial. These sample listings can give you a heads start and either edit them or add new listings.
Listing Plans Options
- You can click on Add New button to start creating your listings.
- When you have too many listings you can use Search Listings search field to search for your listings.
- You can carry out Bulk Actions.
- You can filter through your listing plans.
Step 2-a ) The following is a list of data you can enter for each listing plan you add to your site.
Pricing Plan Details
- Description
- Price
- Recurring
- Categories Included
Listing Duration Period
- Listing Duration/ Recurring Period
- Period Type
Featured Addons
- Feature on Homepage = Duration and Period Type
- Feature on Category = Duration and Period Type
Payments Settings
Step 3 ) The following Settings list allows you to manage and setup the following payments settings.
Payment Settings
- General
- Listings
- Bank Transfer
- PayPal
Step 3-a ) The following is the settings options list for the General tab.
Regional
- Currency
- Identifier
- Position
- Thousand Separator
- Decimal Separator
Tax
- Rate
Installed Gateways
- Bank Transfer
- PayPal
Security
- Allow users view their orders list
- Click on Save Changes button when you finish with the settings.
Step 3-b ) The following is the settings options list for the Listings tab.
Pricing
- Price
Listing Add-ons
- Feature on Homepage
- Feature on Category
Recurring Payments
- Recurring
Surcharges for Listing Categories
- Listing Categories
- Price
- Click on Save Changes button when you finish with the settings.
Step 3-c ) The following is the settings options for Bank Transfer tab.
General
- Message
- Click on Save Changes button when you finish with the settings.
Step 3-d ) The following is the settings options list for the PayPal tab.
General
- PayPal Email
- Account Type
- Sandbox Mode
Payment Data Transfer (PDT)
- PDT System
- Identity Token
Instant Payment Notification (IPN)
- IPN System
The above shows you how to manage your payments settings and add new listings plans to your site.
If you have any questions or suggestions please leave a comment.
There will be more tutorials coming soon. So make sure you keep coming back for the latest.
Enjoy.
Vantage Theme Tutorial List: