WordPress Vantage Theme Footer Area post shows you how to customize and edit the footer area in your site. It will show you different Vantage widgets you can use.
Last Updated: January 15, 2019
Latest News: I have repaired a broken link.
In this post you will learn how to manage the footer area of your site. Vantage has four different widget areas you can play with. Each widget area allows you to add many different widgets. It is up to you to choose how many widgets you want to add in each area.
Note: You can choose to leave or remove the default widgets added by Vantage when you first install and activate.
WordPress Vantage Theme Footer Area
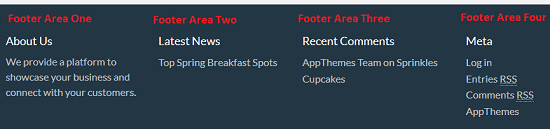
Step 1 ) The following image shows you the Footer Area in the site. The four areas in the footer allow you to add any number of widgets or text you might need to add based on your designed.
The sample data and widgets below helps you understand how the footer area works in a website.
Footer Area Sample Data
- One = This area has the About Us information displayed.
- Two = This area has the latest news displayed
- Three = This area has the recent comments submitted by visitors.
- Four = This area has the Meta widget displayed.
Vantage Widgets
Step 1-a ) WordPress comes with many default widgets for you to use. Vantage theme adds many more widgets for you to also use. The following is a list of Vantage widgets you can use in conjunction with WordPress default to customize and display the footer area.
Vantage Widgets Added
- Home Latest Blog Posts
- Listing Author Stats
- Listing Refine Search
- Single Listing Author
- Single Listing Description
- Single Listing Photo Gallery
- Home Featured Listings
- Home Latest Listings
- Listing Comments
- Page Callout Box
- Single Listing Custom Fields
- Single Listing Maps
All Rights Reserved Message
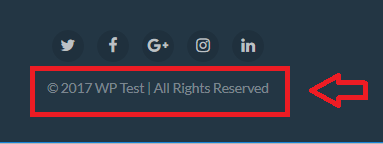
Step 2 ) The following image displays All Rights Reserved information displayed in the footer area. This can be customized very easily.
Note: Your footer will have a different message displayed.
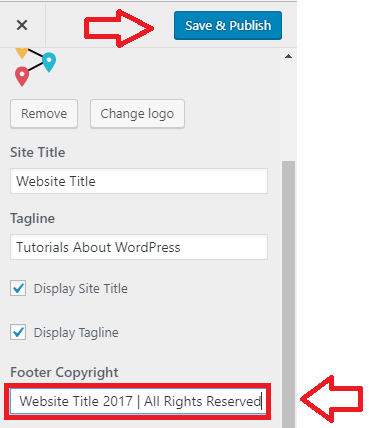
Step 3 ) The image below shows you the All Rights Reserved message illustrated in the admin area of the site.
To customize the All Rights Reserved message carry out the following. Go to Appearance -> Customize -> Site Identity. Go to the Footer Copyright field and start editing the message. Make sure you click on Save & Publish button once you finish editing the footer.
That is how simple it is to customize the footer area in Vantage.
If you have any questions or suggestions please leave a comment.
There will be more tutorials coming soon. So make sure you keep coming back for the latest.
Enjoy.
Vantage Theme Tutorial List: